Traditional Soy Candle Pouring & Wick Centering Guide
Traditional Soy Candle Pouring & Centering Tutorial
Handcrafted botanical soy candles bring tranquil ambiance, gentle warmth, and signature scent to your home. Follow this comprehensive masterclass guide to measure, wick, pour, and decorate your own clean-burning soy candles.

Required Materials
- Golden Soy Wax (100% natural, clean-burning)
- Premium Fragrance Oil or Pure Essential Oil (e.g. Baies / French botanical scents)
- Heat-Resistant Glass Candle Jars
- Natural Wood Wicks with Metal Anchor Clips
- Double-Sided Wick Tab Stickers
- Stainless Steel Pouring Pitcher & Electric Hot Plate
- Digital Candle Thermometer & Stirrer
- Dried Botanical Florals & Herbs (Lavender, rose petals, heather)
Step 1: Melting the Soy Wax
Add 1kg of Golden Soy Wax into your stainless steel pouring beaker. Place on the hot plate over gentle, low heat and allow it to melt slowly and completely.

Step 2: Preparing the Glass Jars
While the wax is melting, clean and dry your glass candle jars thoroughly. Ensure there is no residual moisture or dust inside the jars.

Step 3: Securing & Centering the Wooden Wick
Fit the natural wooden wick into its metal wick tab. Apply a double-sided wick sticker to the base of the tab, then firmly adhere it into the exact bottom-centre of your glass jar.

Step 4: Infusing Fragrance at the Optimal Temperature
Once the wax has fully liquefied, monitor the temperature using a digital thermometer. When it reaches 70°C–75°C, add 100ml of fine fragrance oil. Stir gently and continuously for 2 minutes to ensure the fragrance binds seamlessly with the melted soy wax.

Step 5: Steady Pouring Technique
Slowly and smoothly pour the scented soy wax into your prepared jar in an unbroken stream. Leave approximately 1.5cm of headspace at the rim.

Step 6: Setting & Botanical Flower Decoration
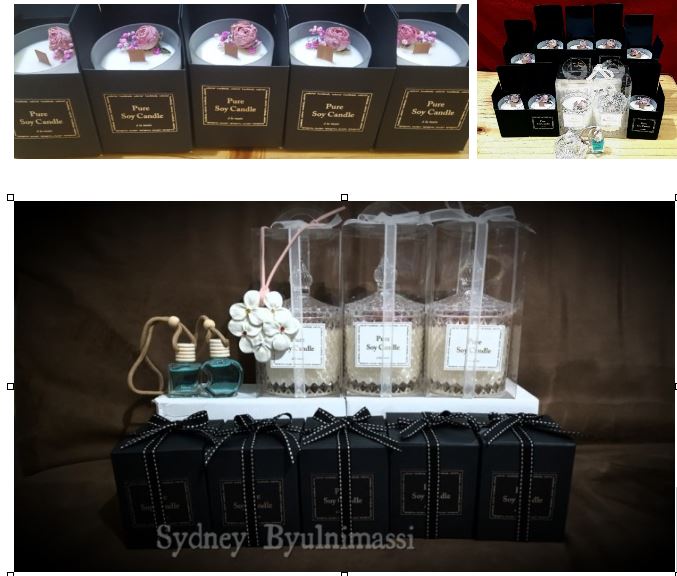
Keep the candle undisturbed at room temperature. As the wax begins to set and an opaque white film forms across the surface, delicately place your dried botanicals and herbs along the edges.

Step 7: Curing & Artisan Packaging
Allow your soy candle to cure for at least 48 hours for optimal scent throw. Trim the wooden wick to approximately 5mm above the surface, then wrap or package in a bespoke gift box.